
This article is for someone who has not used the app before, or has used it once and was not sure they did it right. It is an end-to-end walkthrough of the four steps from a selfie on your camera roll to a finished JPEG saved on your phone.
The app does not require an explanation to use — the whole flow takes about a minute — but a few small habits will make every photo noticeably better. We will flag those as we go.
Step 0: Before you open the app
Two things to have ready, ideally a minute apart.
- A recent selfie that passes the five-second test. Recent means this week. Passes the test means could this look like a normal photo of me if the background were replaced.
- A rough idea of what you want. You do not have to write the prompt before opening the app. You should at least know the setting (cafe, hotel lobby, office, train), the time of day, and one mood word.
If you have both, the rest of the walkthrough is procedural.
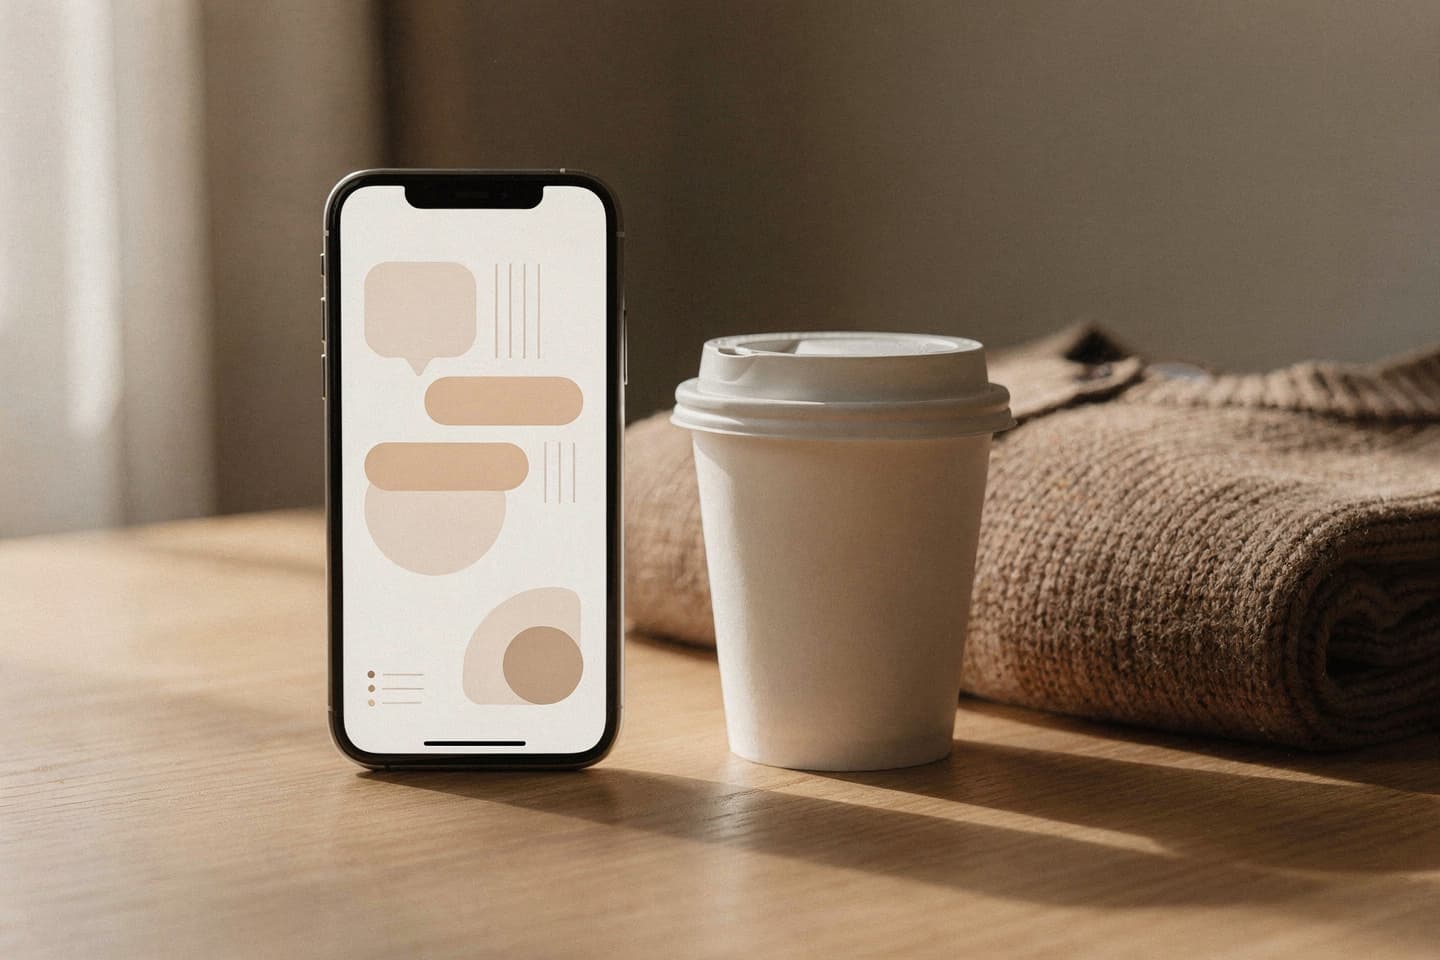
Step 1: Sign in
The app uses Google to sign in. There is no separate password and no profile to fill out. After signing in for the first time, you start with three free credits. A credit is consumed only when a photo is successfully generated; failed generations do not cost anything. There is no subscription.
If you have used your three free credits, the next pack is 10 credits for €10. There is no card on file unless you buy a pack. We are flagging this so you know what to expect — none of it is a surprise inside the app.
Step 2: Upload the selfie
Tap the upload area. Pick the selfie from your phone. The app compresses the file in the browser before sending it; you do not need a fast connection.
A small invisible step happens here that is worth knowing about: the app reads the EXIF metadata of your original selfie before compression and holds it in memory on your device. It does this so that, at the end of the flow, the finished photo can be saved with metadata that looks like it came from your camera, rather than from an editing tool. We covered the technical side in Why Timestamps on Photos Matter.
After upload, you will see your selfie in the preview area, lightly framed. The app does not show your selfie publicly at any point — it is only sent to the processing worker for the generation, and not retained.
Step 3: Write the prompt
The prompt is the box where you describe the setting. The most reliable prompts are short, specific, and answer the six ingredient-questions from Anatomy of a Perfect Prompt:
- Place
- Time of day
- Light source
- Surface in front of you
- Depth behind you
- Mood
Aim for 10-15 words. If you do not know where to start, here is one that almost always works as a first try:
A window seat in a small neighbourhood cafe, late afternoon, soft natural light from the left, marble table with a cappuccino and a closed book, a quiet street with parked bicycles visible behind me, calm.
You can copy it, run it once, and use the result as your reference point for what the app is capable of. Then write your own.
A few things to leave out: your own appearance (the selfie has it), brand names, readable text on signs, and detailed camera specifications. We covered the what not to write list in Anatomy of a Perfect Prompt.
Step 4: Pick the date and time
This is the step most first-time users blow past. They leave the time as now and end up with a finished photo timestamped to the minute it was generated, which is the single biggest tell that a photo was edited.
Spend three seconds. Pick a date in the recent past — yesterday is good, the day before is good — and pick a time of day that matches your prompt. A cafe at 16:43 reads as plausible. A cafe at 03:00 reads as nonsensical. Avoid round-number minutes. 14:00 looks staged; 14:23 looks photographed.
We covered the timestamps-matter argument in Why Timestamps on Photos Matter. The single-sentence version: a finished photo with a believable timestamp slots into your camera roll cleanly; one with a wrong timestamp doesn't.
Step 5: Generate
Tap Generate. The first generation takes about 20-40 seconds. You will see a loading state with an elapsed-time counter.
What is happening behind the scenes, briefly: the app sends your selfie and prompt to a server-side worker, which calls an image model, then prepares the result as a clean JPEG for ordinary social and camera-roll use.
A credit is deducted only after the generation succeeds. If something fails, you get no charge and you can try again.
Step 6: Review and pick a variant
You will see the finished photo. Below it, you have two options: Download and Generate again.
Generate again makes another variant from the same selfie and prompt. The variants are not identical — the model produces something slightly different each time. You can keep generating new variants until you have one you are happy with. Each successful generation uses one credit.
We retain each variant on the worker for one hour, in memory only. After that, the variant is gone. If you want to keep one, download it during that hour. If you close the tab and come back, the most recent variant is still available for that hour; older ones may not be.
Step 7: Download
When you tap Download, two more invisible steps happen.
- The EXIF metadata of your original selfie (camera model, exposure settings, but not GPS) is re-injected into the finished photo.
- The timestamp you picked in Step 4 is written into the metadata as the date taken.
The result is a JPEG that, to any normal piece of photo-management software, looks like a photo taken on your phone at the time you specified. On iOS, the share sheet handles the save to camera roll. On Android, the file is saved to your downloads.
That is the end of the flow.
What to do differently on attempt 2
Most people generate one photo, look at it, and instinctively want to generate the same prompt again to see if they get something better. That is fine — but the higher-leverage move on attempt 2 is to change one specific thing in the prompt that you were unhappy with.
- If the light was wrong, change the time of day or the light source phrase.
- If the room was too crowded, add almost empty or quiet.
- If the foreground felt staged, add one more small object to the surface.
- If the geography felt off, add a one-word macro adjective (see Plausible Geography).
Targeted prompt changes between attempts produce much faster learning than re-rolling the same prompt.
Related reading
- How to Take a Perfect Selfie
- Anatomy of a Perfect Prompt
- Lighting Tips for Believable Composite Photos
- Why Timestamps on Photos Matter
Try it yourself
Three free credits at btdt.fun. Most people use the first one on the example prompt from Step 3, the second on a small variation of it, and the third on a setting of their own. That sequence is the cheapest way to learn the app.